

Getting Your Bike Ready for the Season (Without Overthinking It)
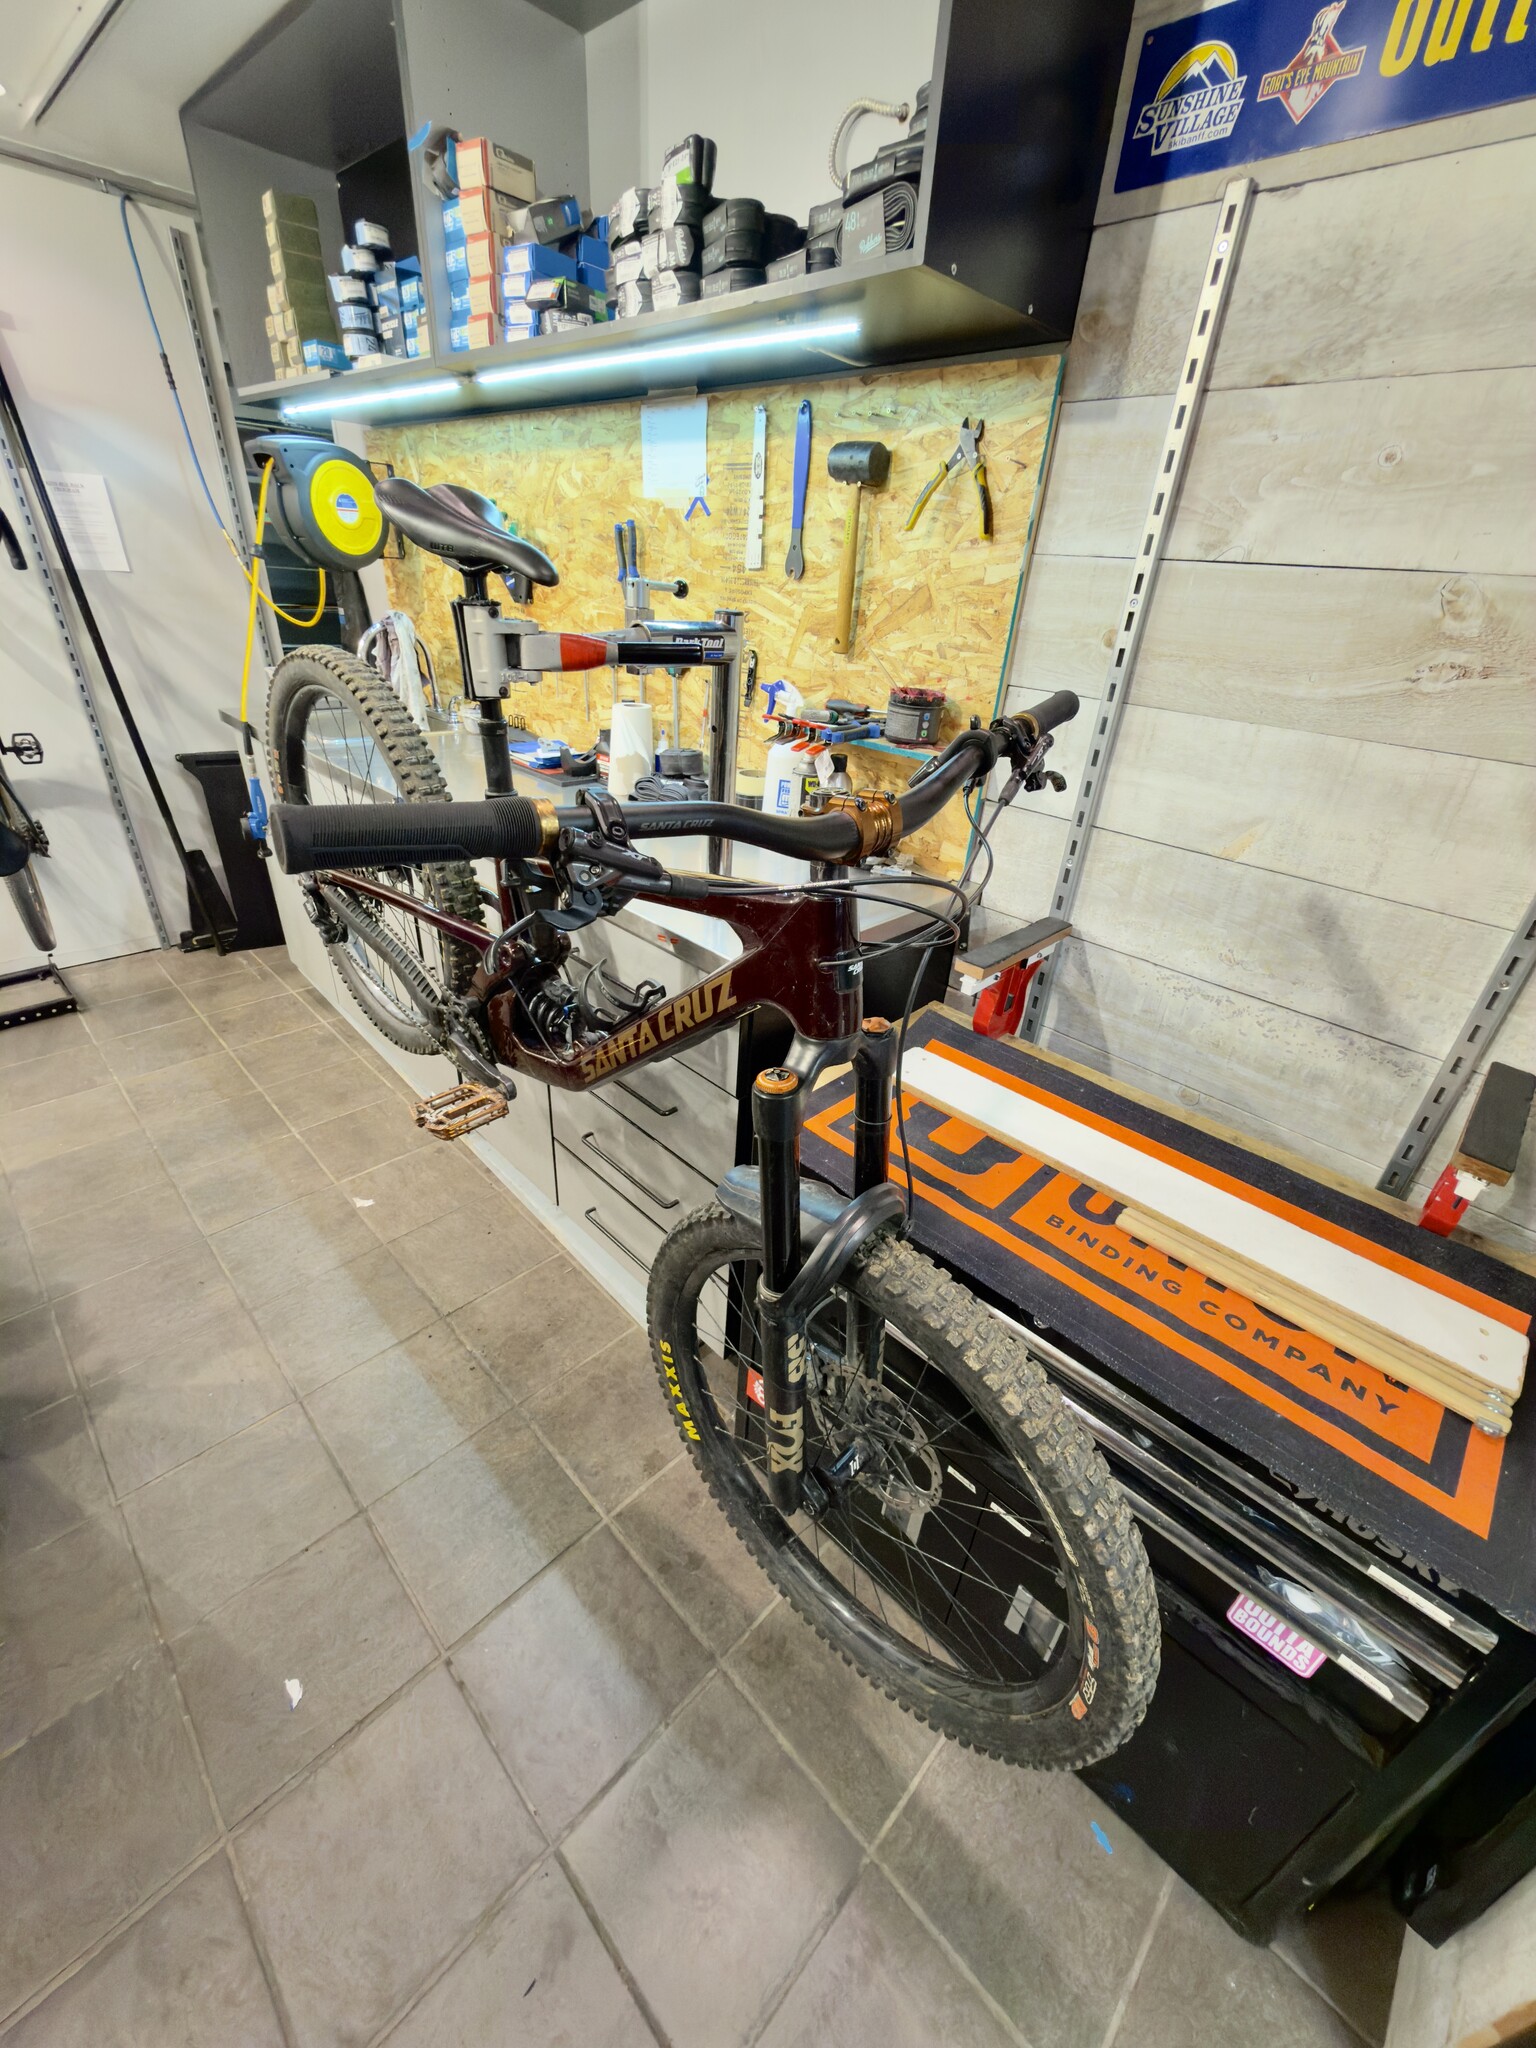
It's summertime, and I know you're eager to get your bike out of the shed, blow the dust off of it, jump on and get riding. But the question is, should you?
As the weather starts to turn and you’re itching to get back on two wheels, it’s time to dust off the bike and give it a little love. Whether you’re commuting, hitting the trails, or just cruising around town, a quick tune-up goes a long way. It keeps your ride smoother, safer, and way more enjoyable.
The good news? You don’t need a full workshop or fancy tools. A few basics, a bit of time, and a little patience will get you most of the way there. And of course, your local bike shop is always there if you hit something you’re not sure about.
Let’s walk through the main things you’ll want to check before rolling out for the season.
Give It a Good Clean First
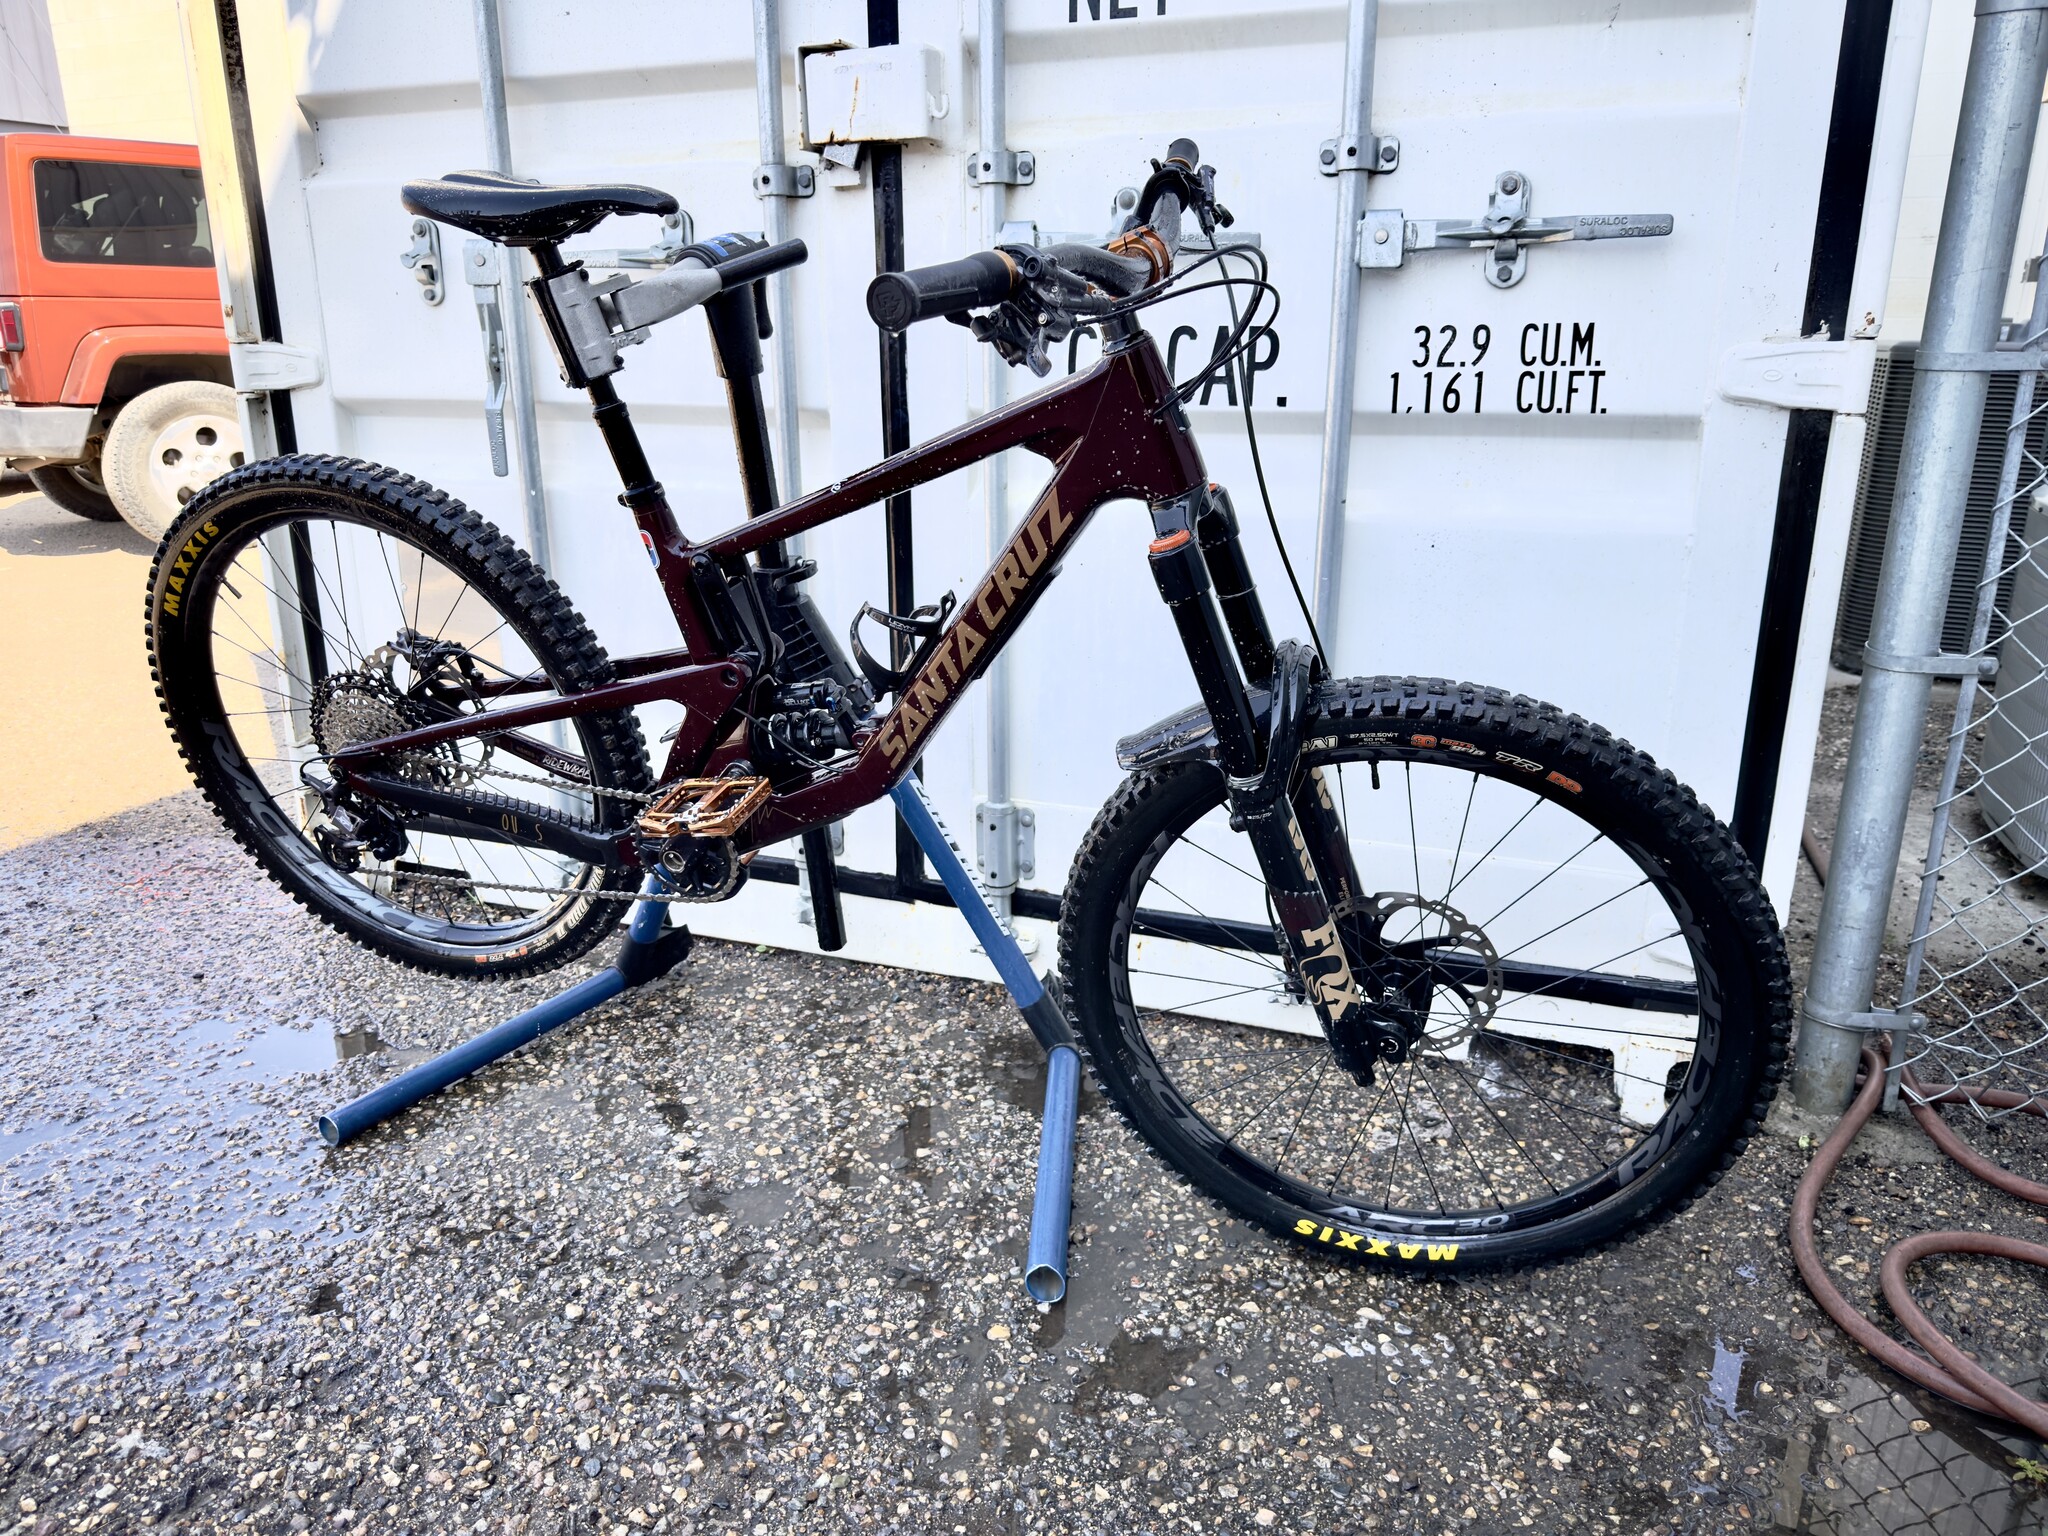
Before you start tightening or adjusting anything, just clean the bike. Seriously—this step makes everything easier.
Dirt and grime can hide loose bolts, worn parts, and sketchy cables. Use some warm water, a gentle bike cleaner, and a soft brush. Be sure to use a bike rotor-safe cleaner if you have disc brakes. If you use a cleaner that is not rotor-safe, you may contaminate your brakes. Get into the drivetrain, wheels, and brake areas. Just don’t blast it with a pressure washer—water getting into bearings is never a good time.
Once it’s clean, dry it off and take a slow look at the frame. You’re checking for anything obvious like cracks, rust, or damage. Light scratches are normal, but anything that looks like a structural crack (especially near welds) is worth bringing into the shop.
Check Your Tires (They Do More Than You Think)
Your tires are literally what keep you connected to the ground, so don’t skip this part.
Look for:
-Cuts or punctures
-Glass, thorns, or random junk stuck in the rubber
-Cracks on the sidewalls
-Bald or worn-out tread
-Bulges or weird shapes
-Top up tubeless sealant (if applicable)
If anything looks sketchy, it’s usually better to replace the tire than risk a flat mid-ride.
Next, spin your wheels. They should roll smoothly without wobbling side to side. A tiny wobble might just need a quick true, but anything big could mean spoke or rim issues—something your bike shop can sort out quickly.
And don’t forget air pressure. Pump your tires up to the PSI listed on the sidewall. Too soft and you’ll feel sluggish (and risk pinch flats). Too hard and the ride gets harsh with less grip.
Don’t Ignore the Bolts
Bikes vibrate a lot, and over time, bolts can loosen up more than you’d expect.
Give these a quick check:
-Stem and handlebar bolts
-Seatpost clamp
-Saddle bolts
-Brake mounts
-Disc rotor bolts
-Crank bolts
-Pedals
-Bottle cages
-Racks and fenders
If you’ve got a torque wrench, great—use it. If not, just make sure everything feels snug and secure. If something feels questionable, it’s worth having a mechanic double-check it.
Brakes: The “Don’t Skip This” Section
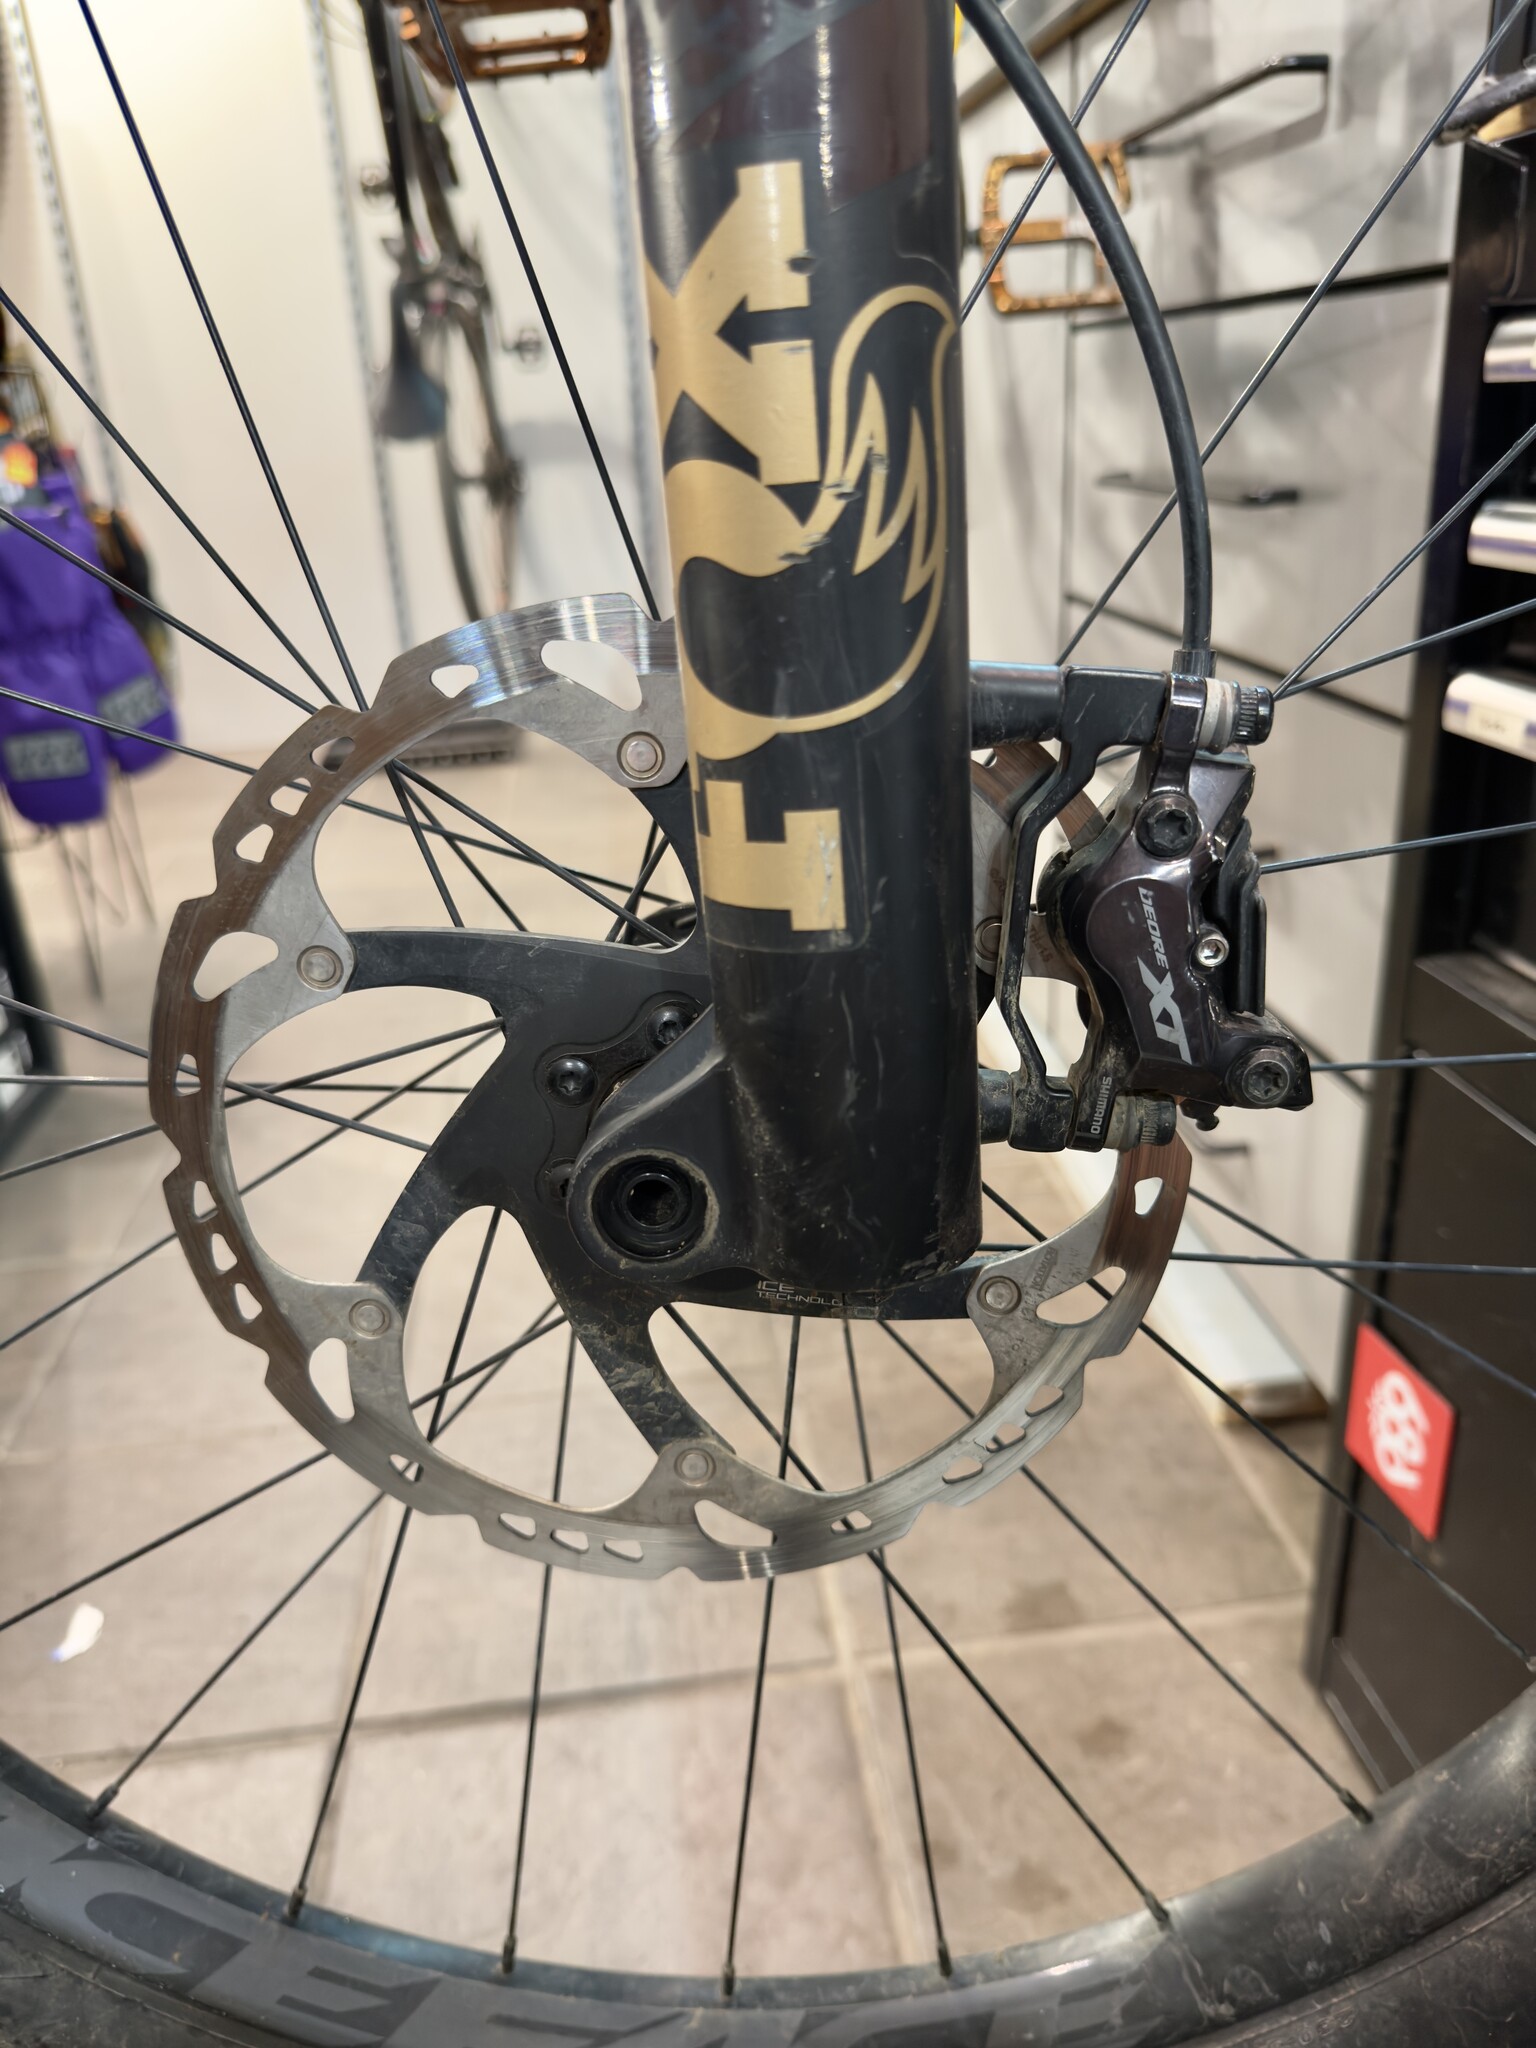
Your brakes are kind of important (obviously), so give them a proper look.
Disc Brakes
Disc brakes are awesome, but they still need attention.
Check the rotors first. They should be straight and clean. If they’re bent, you might hear rubbing when the wheel spins.
Then look at the brake pads. If they’re worn down or contaminated with oil, swap them out.
Spin the wheel and listen. A light rub might just need a quick calliper adjustment. If the lever feels soft or spongy (on hydraulic brakes), it might need a bleed.
Mechanical disc brakes? Just make sure the cable tension feels good, and the lever isn’t sloppy.
V-Brakes
If you’re running V-brakes, they’re simple but still need love.
Check that the pads hit the rim evenly—not the tire. Misaligned pads can wear your tire out fast (and that’s not fun).
Make sure both brake arms move freely and snap back when you release the lever. If one side feels sticky, a little cleaning and light lubrication usually helps.
Also check the brake cables. If they’re rusty, frayed, or feel sticky, it’s time for a replacement.
Dial in Your Shifting (Derailleurs)
If your bike is clicking, skipping gears, or just not shifting smoothly, your derailleurs probably need a little attention.
Start by looking at both front and rear derailleurs. Clean off any gunk and check that nothing looks bent or out of place—especially the derailleur hanger. A slightly bent hanger is one of the most common causes of bad shifting.
Check your shift cables too. If they’re frayed, stiff, or corroded, they’ll make shifting feel rough no matter how much you adjust things.
A little lubricant on the pivot points helps everything move more smoothly, but don’t overdo it—too much just attracts dirt.
Fine-Tuning Your Gears
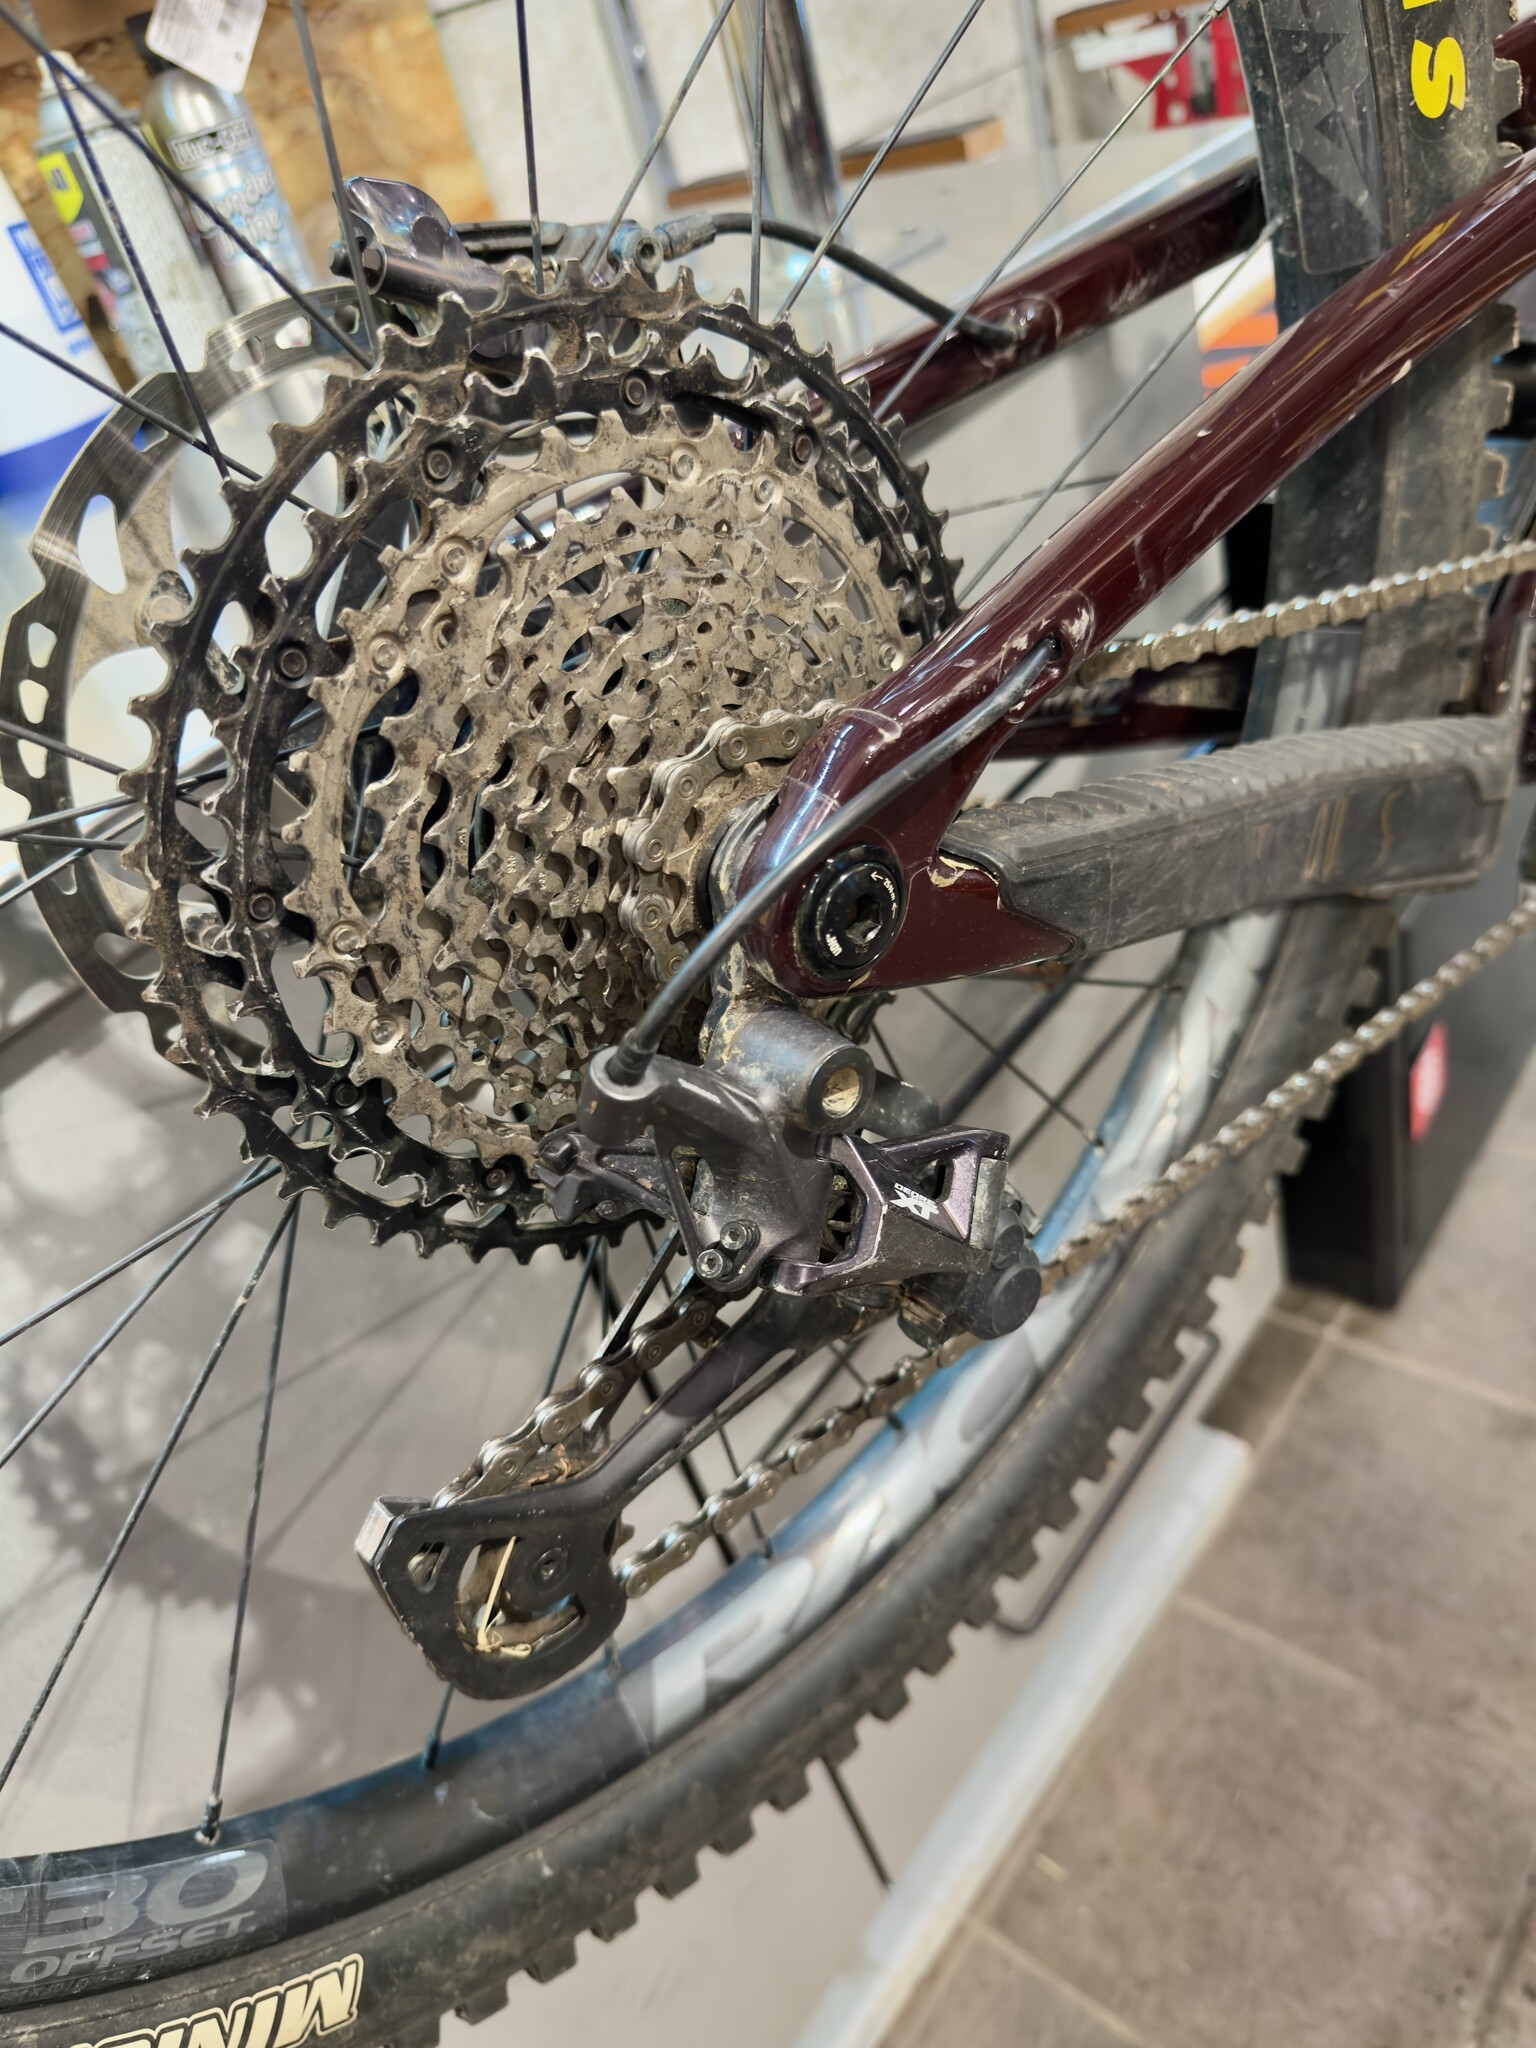
Once everything is clean, it’s time to test shifting.
Lift the rear wheel or use a stand and run through all your gears.
Here’s what you’re looking for:
-Slow shifting to bigger gears? Add a bit of cable tension.
-Slow shifting to smaller gears? Ease off a bit.
-Use barrel adjusters for small tweaks.
-Make sure the chain doesn’t try to jump off the cassette or chainrings.
If your rear derailleur is still causing issues when you are shifting, it may be time to reset and start the tune like it's a brand new component and start from scratch.
Your front derailleur should shift cleanly between chainrings without rubbing too much in normal riding gears.
If things still feel off after adjustments, it might be time for a shop visit—especially if the hanger is bent or parts are worn.
Chain and Drivetrain Check
A clean drivetrain just feels better.
Check your chain for wear if you can. A stretched chain can wear out your cassette and chainrings faster than you’d expect.
Clean the chain with a degreaser, dry it, and add fresh lube. Then wipe off the extra—less is more here.
Take a look at your cassette and chainrings too. If the teeth look hooked or sharp, that’s a sign of wear. Also spin the little jockey wheels on the derailleur—they should move freely.
Quick Look at Steering and Bearings
This part is easy but important.
Hold the front brake and rock the bike forward and back. If you feel a knock or movement, your headset might need adjustment.
Turn the handlebars—they should move smoothly without grinding.
Spin the wheels and listen for roughness in the hubs. Same with the crank—everything should feel smooth, not gritty or crunchy.
If anything feels off here, it’s usually worth letting a shop handle it.
Final Safety Check Before You Ride
Before you head out, do one last once-over:
-Tires pumped up
-Wheels secure
-Brakes working properly
-Gears shifting smoothly
-Handlebars and seat tight
-All bolts checked
-Lights working if you ride early or late
Then take a short test ride around the block. It’s the easiest way to catch anything weird before a longer ride.
You’re Ready to Ride
That’s really it. A little time spent tuning your bike before the season starts makes a huge difference in how it feels on the road or trail.
And remember—if anything feels off or you’re not totally sure about something, your local bike shop is always happy to help. That’s what we’re here for.
Now go enjoy the ride.
Comments
Be the first to comment...