

Prep Your Bike For Winter Storage: A Mechanics Guide
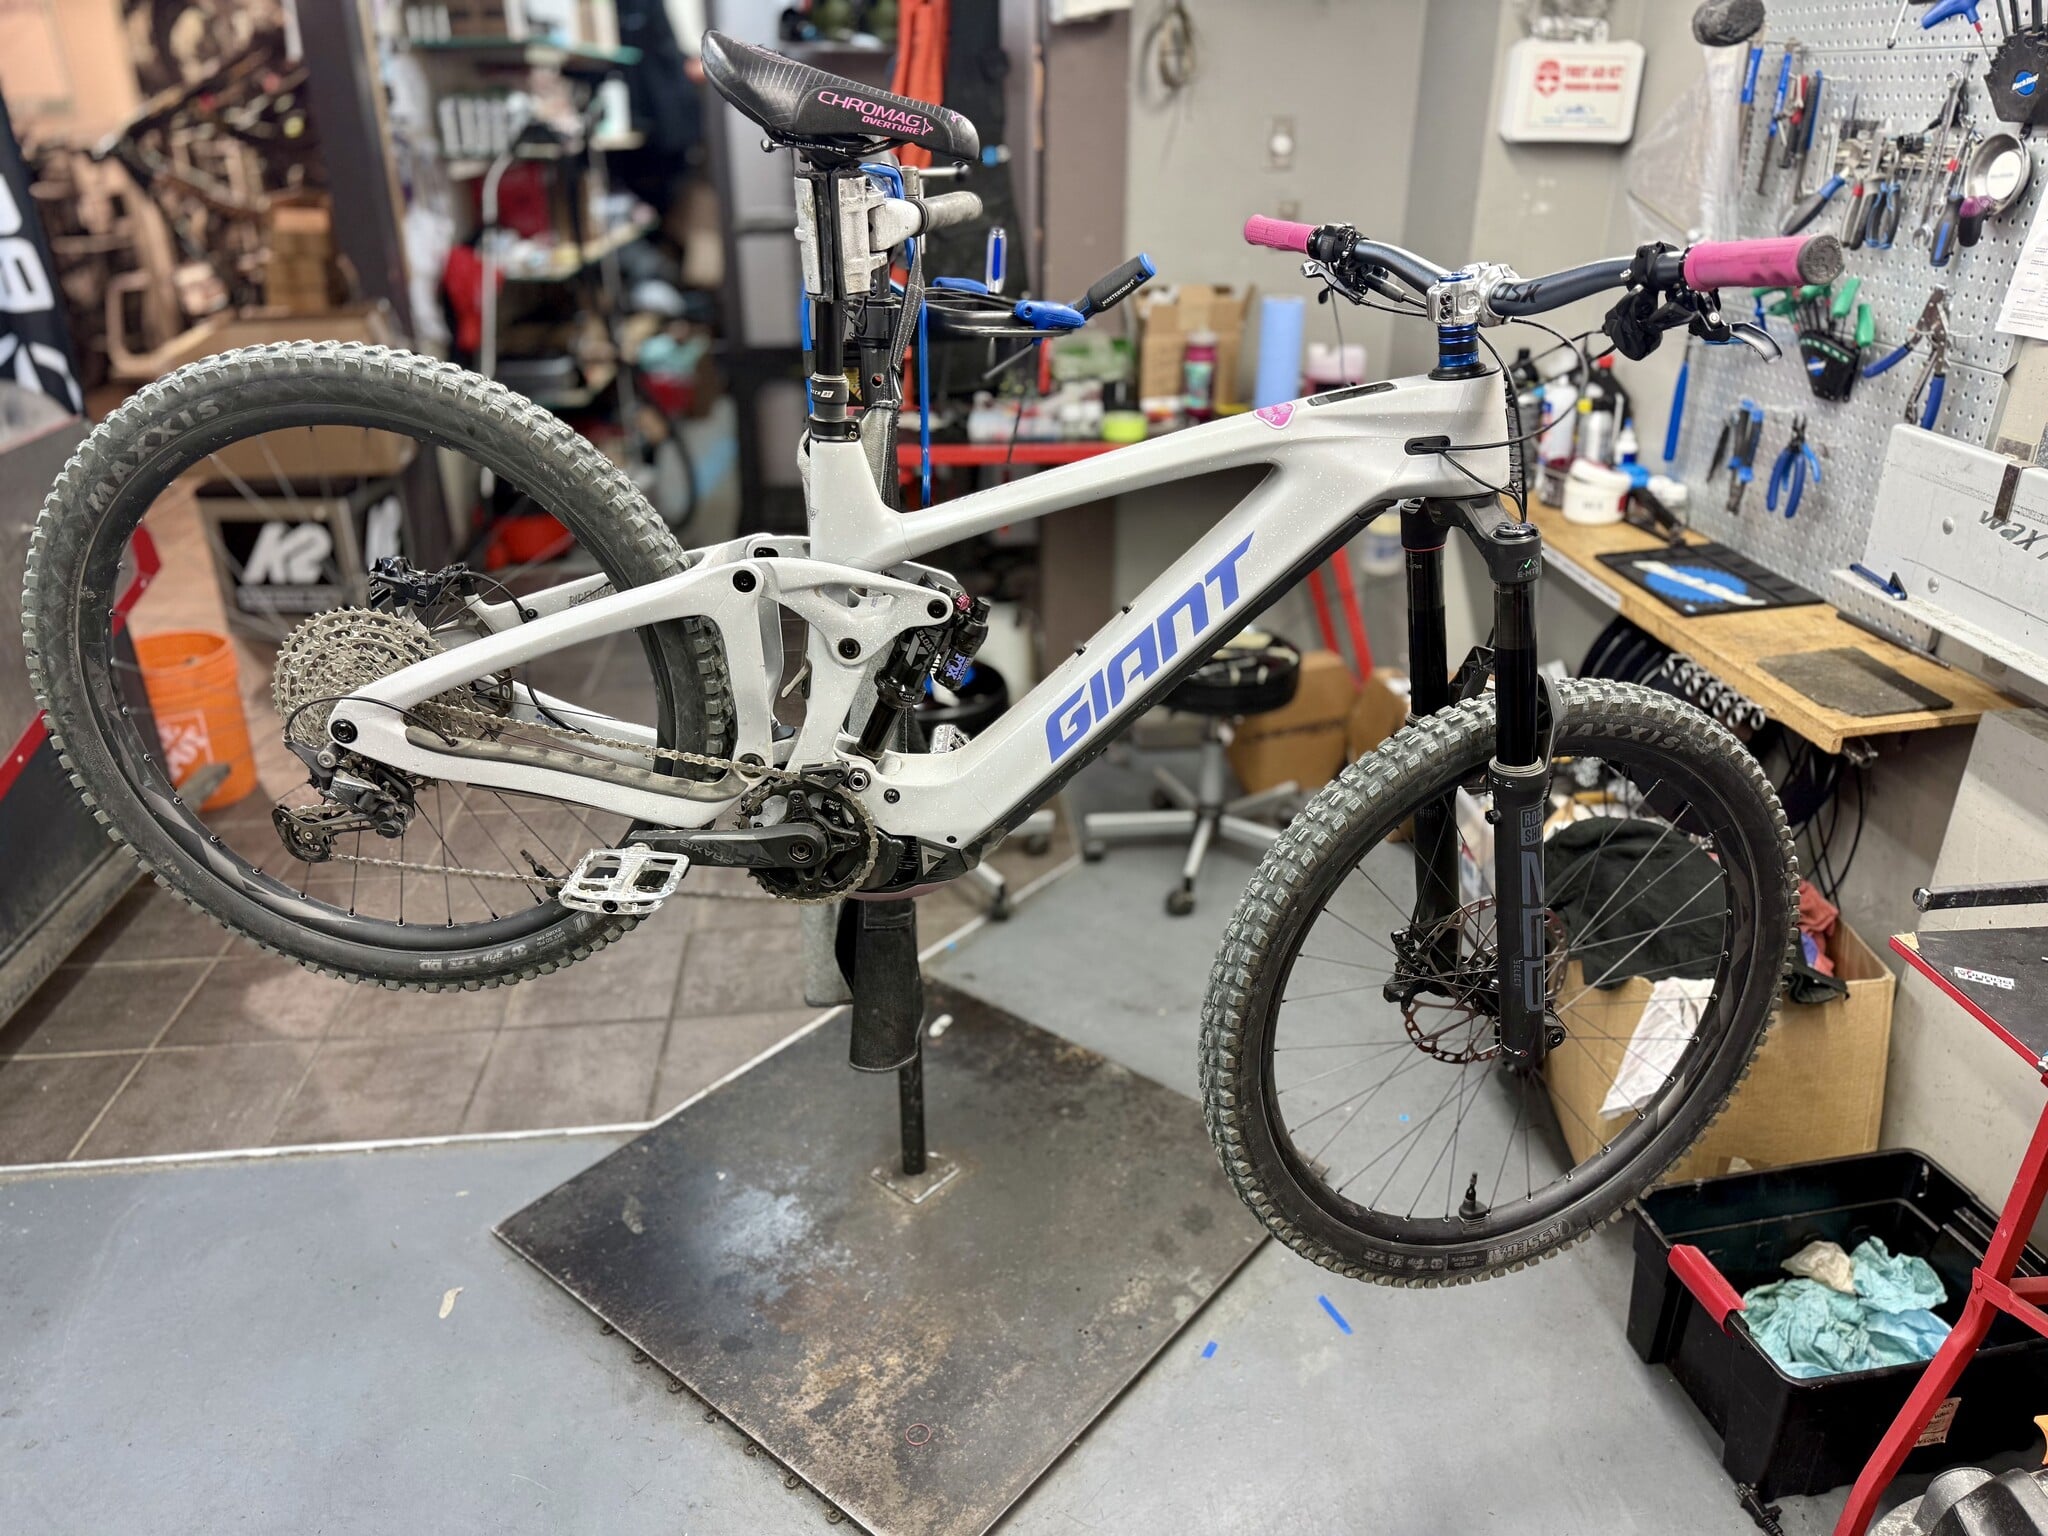
Before you park it in the back of the garage, throw an old bedsheet over it, and pretend you’ll remember where you put the pump six months from now, let’s talk about winter bike storage.
So, you're putting the bike away for the winter.
Before you park it in the back of the garage, throw an old bedsheet over it, and pretend you’ll remember where you put the pump six months from now, let’s talk about winter storage.
I’ve worked on enough “stored” bikes to know what happens when winter prep gets skipped. Chains turn orange, tires go flat, cables get crusty, and that mysterious grinding noise you ignored in October suddenly becomes your problem in April.
The good news? Proper winter storage isn't complicated. Give the bike a little love before it hibernates, and you'll have a much better chance of pulling it out in spring ready to ride instead of ready for a trip to the repair stand.
Here’s how we’d do it in the shop.
Clean the Thing. Seriously.
First job: WASH THE BIKE!
And I don't mean wipe the top tube with your sleeve and call it good.
Road grime, mud, sweat, chain lube, and especially road salt are not great roommates for a bicycle that's going to sit around for several months. Salt and moisture will happily keep attacking metal while you're off drinking coffee and waiting for spring.
Start with the frame, fork, wheels, and cockpit. Use warm water, mild soap, and a soft brush or sponge.
Then get into the drivetrain. Clean the chain, cassette, chainrings, derailleur pulleys, and derailleur itself. You don't have to make it so clean you can eat lunch off the cassette, but get the accumulated black crud off there.
Once you're done, dry the bike properly.
A towel works. A compressor can make things easier if you know what you're doing, but don't blast high-pressure air directly into bearings and seals. That's a great way to turn a perfectly happy bearing into a future shop job.
And don't put the bike away wet.
That's not winter storage. That's a corrosion experiment.
Give It a Proper Once-Over
Winter is actually a great time to find all the stuff you've been ignoring during riding season.
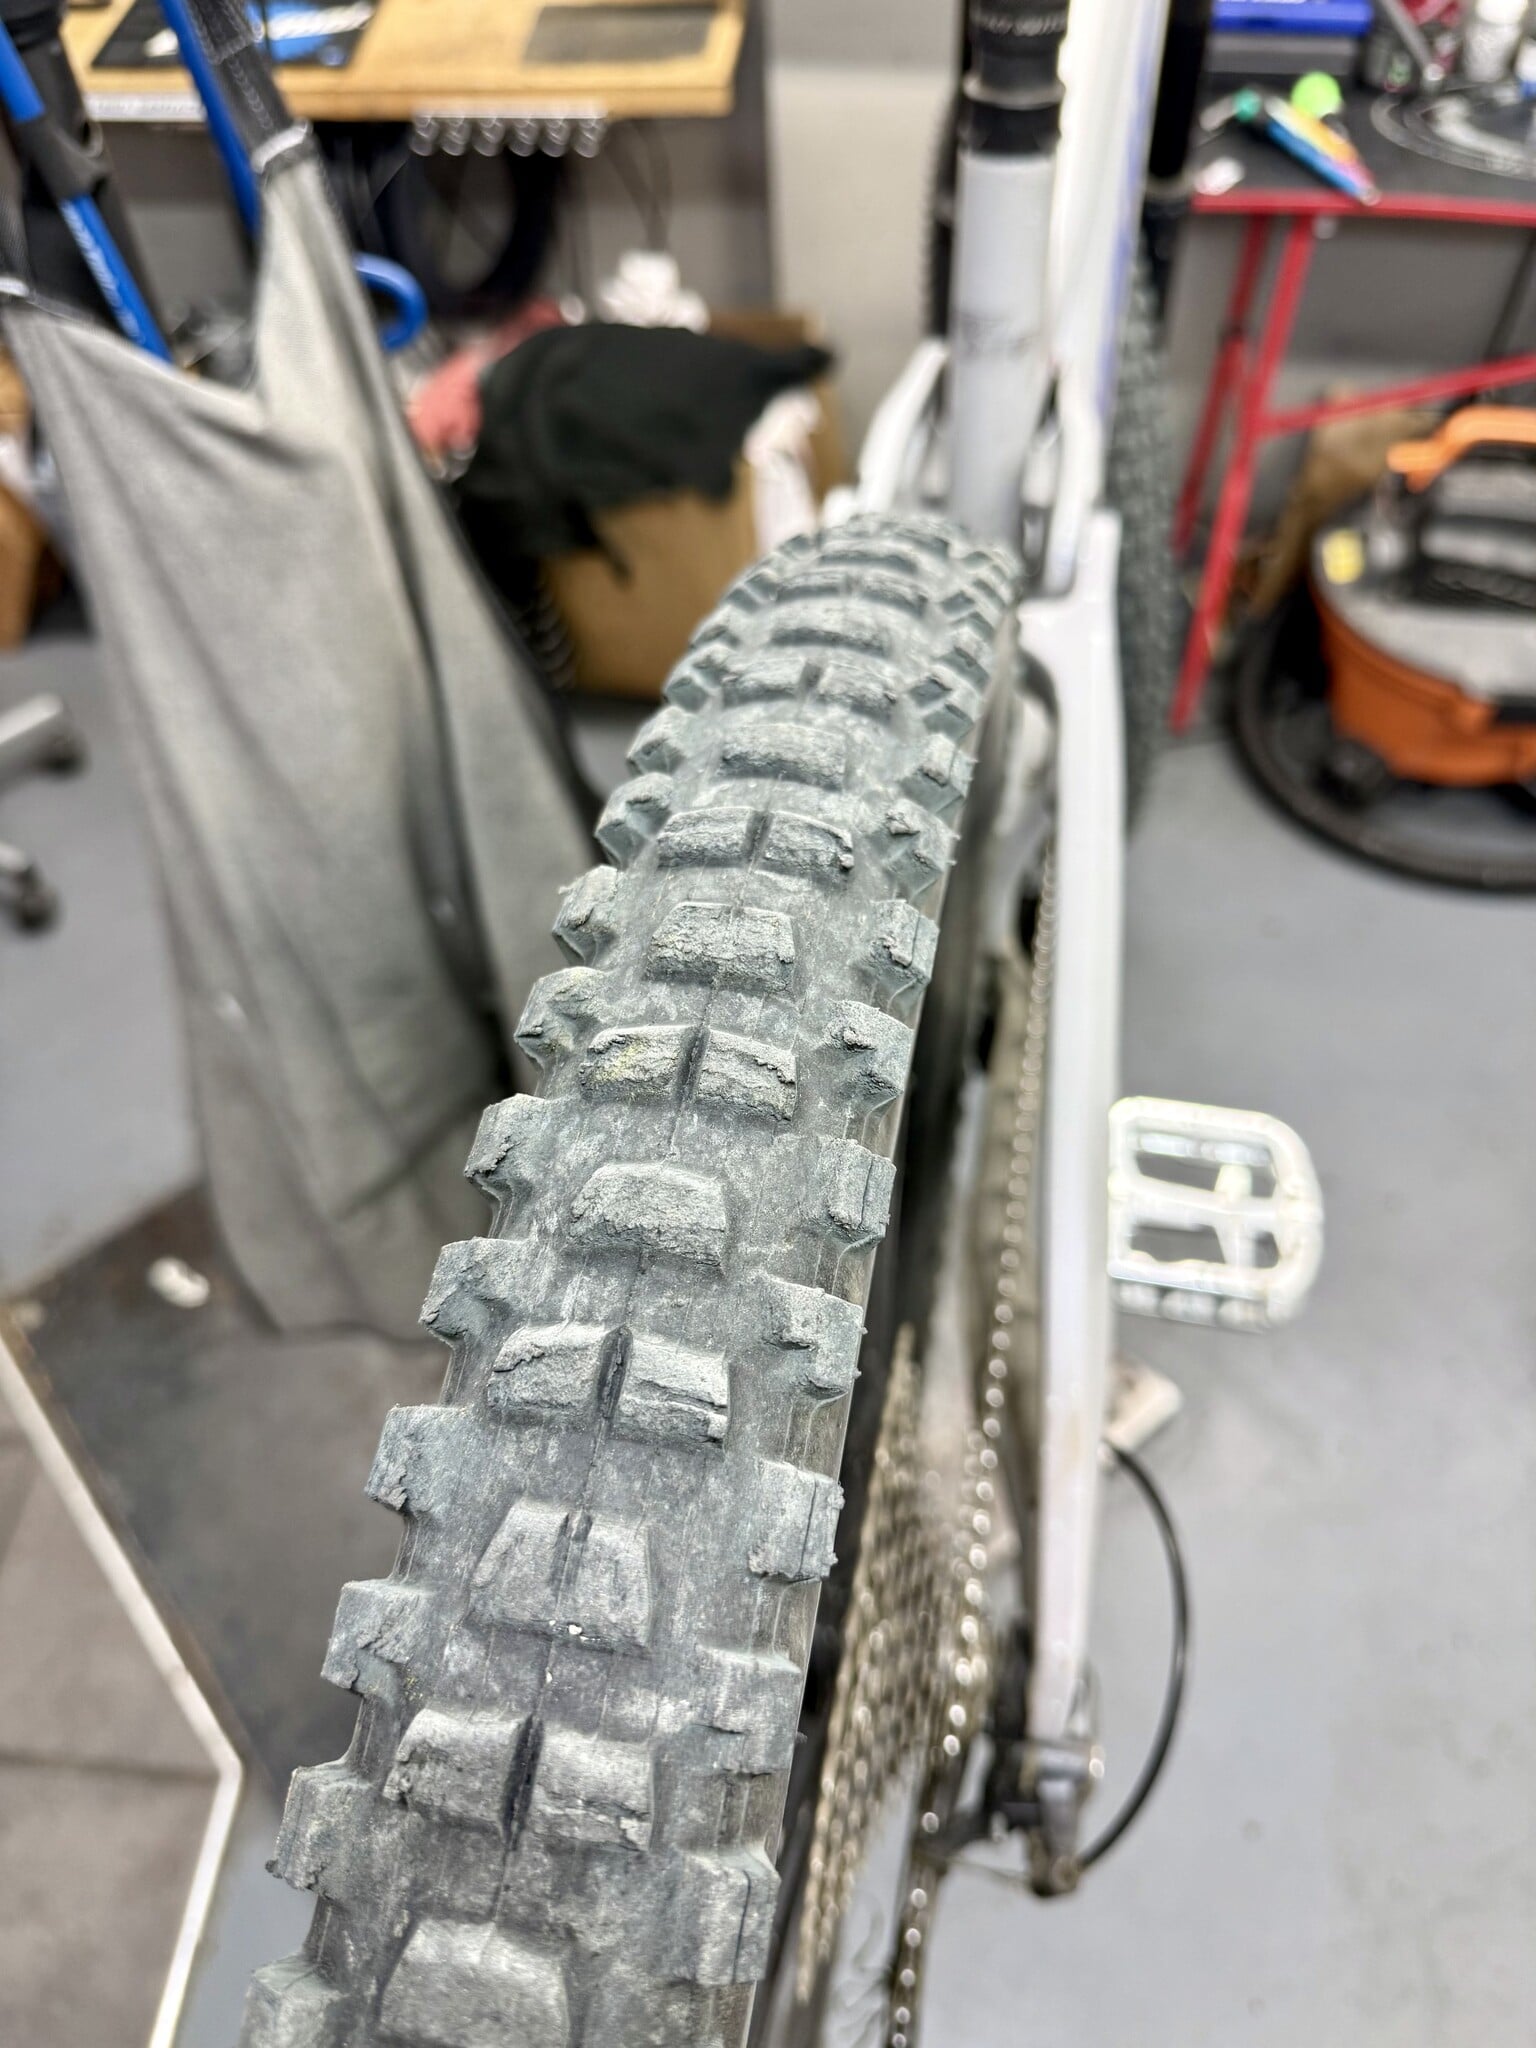
Check the tires for cuts, cracks, bulges, or excessive wear. Look at the brake pads. Inspect the rims or rotors. Check the spokes for obvious damage or looseness.
Run through the gears and make sure the shifting is reasonably crisp.
Grab the wheels and check for excessive play. Give the headset a quick check too. Hold the front brake and rock the bike back and forth. If you feel a clunk around the headset, you've got something worth investigating.
Also have a look at the bolts and fasteners. You don't need to dismantle half the bike, but if something is obviously loose, don't leave it for Future You to deal with.
Future You has enough problems.
Clean and Lube the Chain
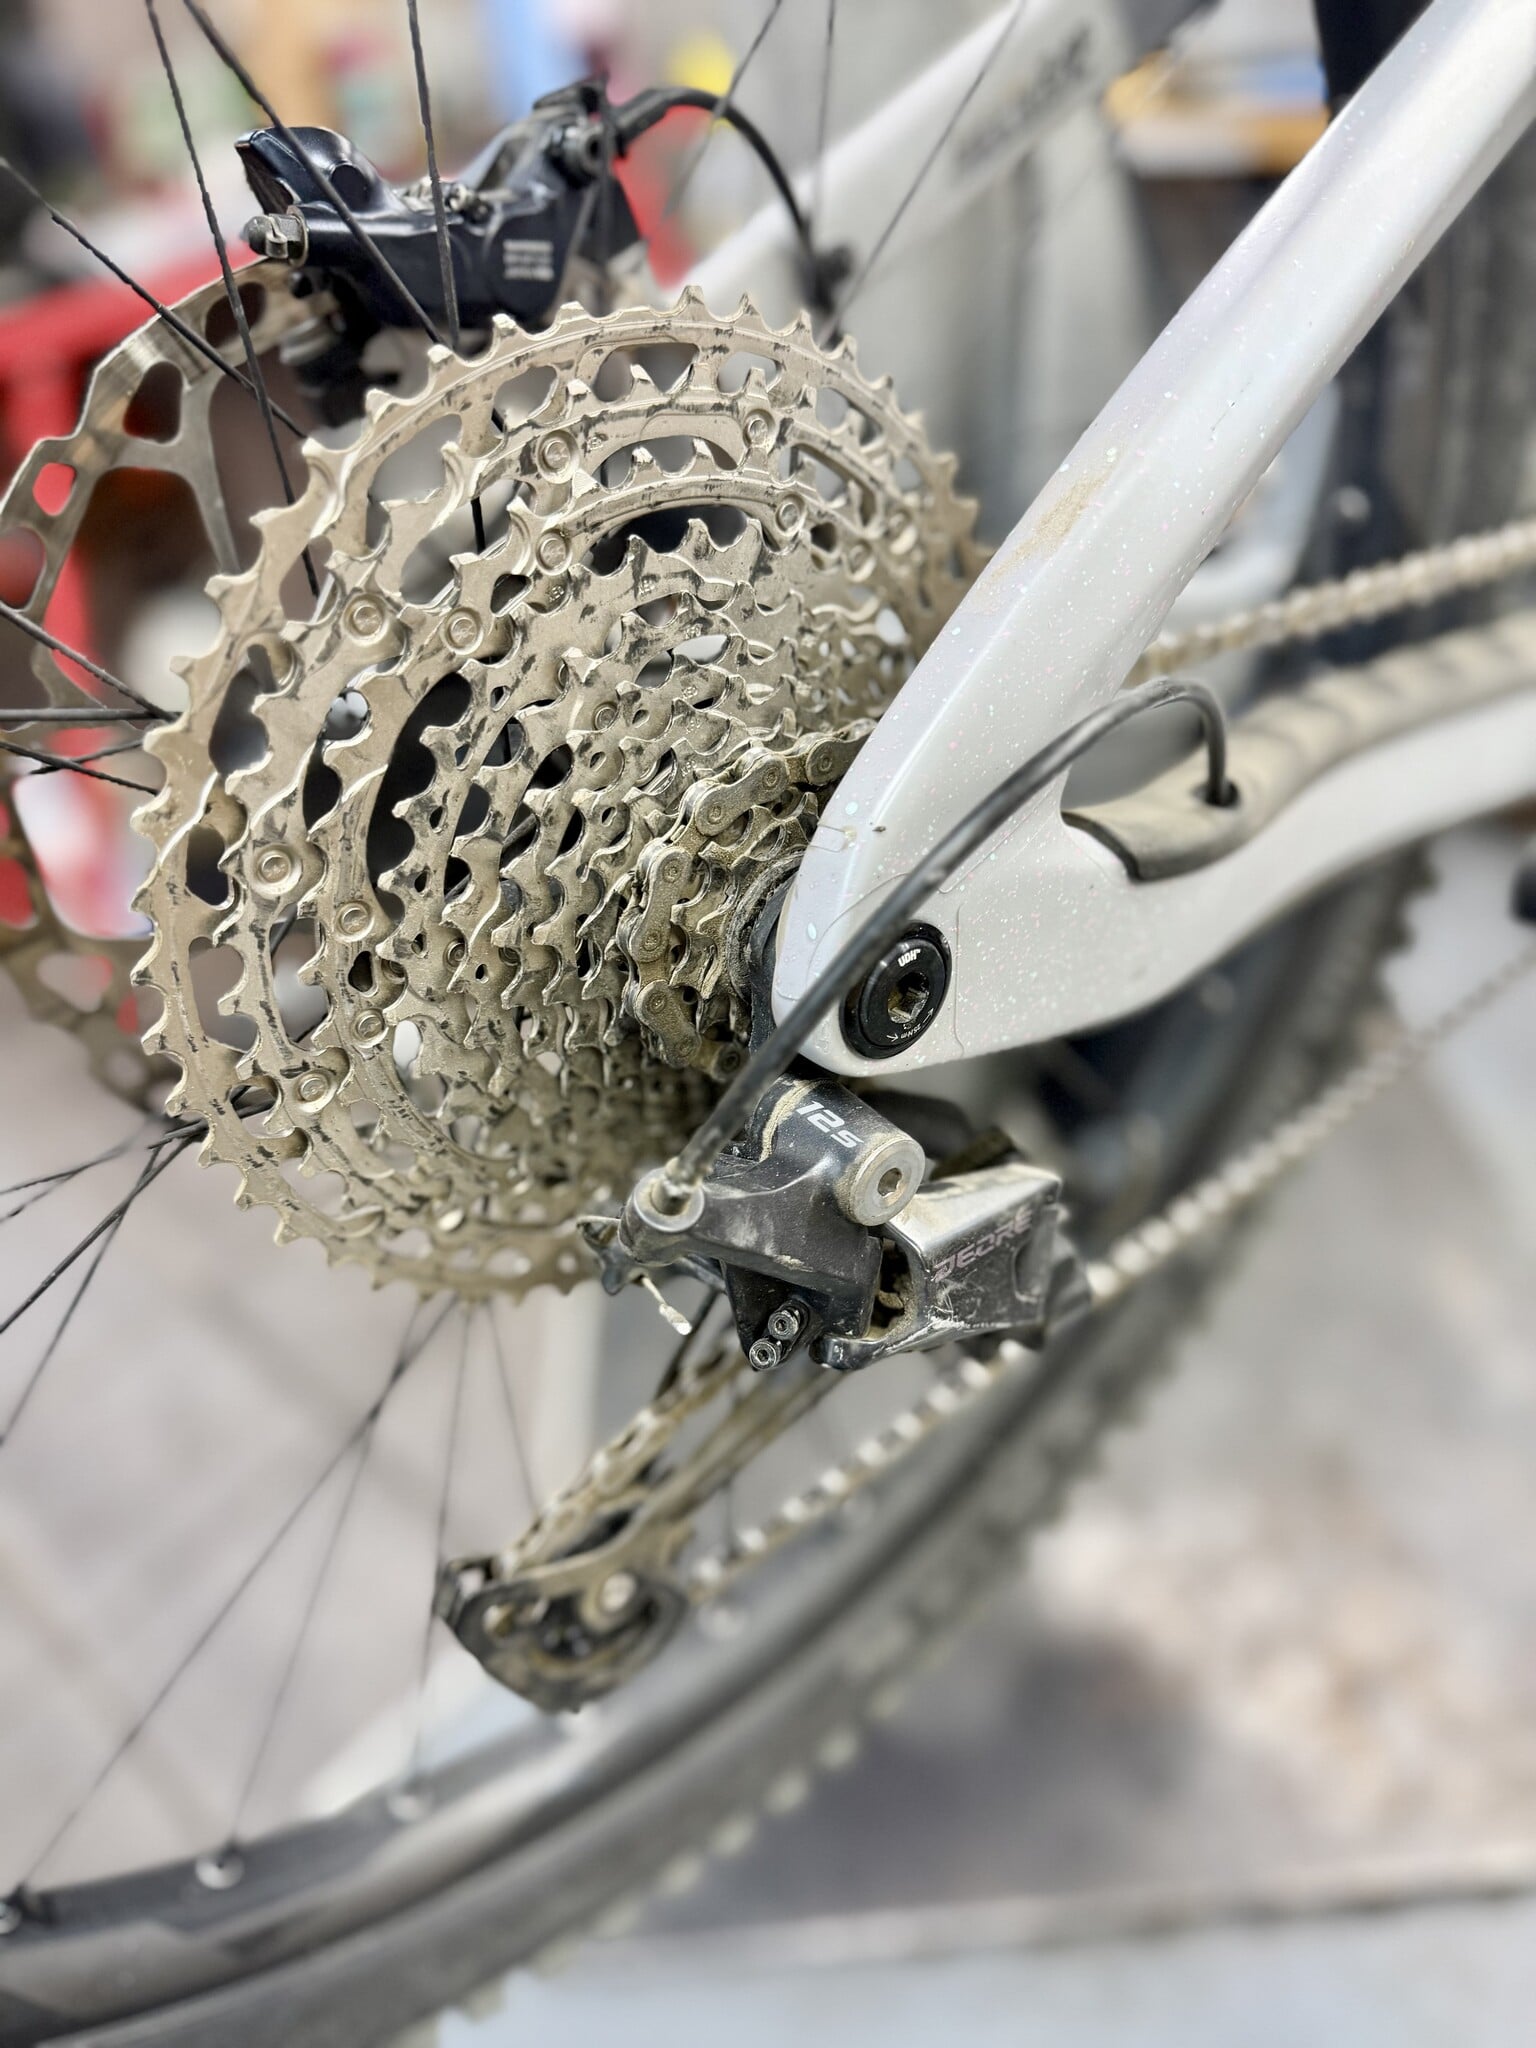
Once everything is clean and dry, give the chain some fresh lubricant.
Use a proper bicycle chain lube and apply it while slowly turning the cranks. Let the lubricant work into the chain, then wipe off the excess.
This last part matters.
A chain dripping in lubricant isn't “extra protected.” It's basically a dirt magnet.
You want lubricant inside the chain's moving interfaces, not coating the outside like you're marinating it for dinner.
And, obviously, keep chain lube away from brake pads and rotors. If you contaminate a brake rotor with oily spray, don't be surprised when your normally quiet disc brake suddenly sounds like an angry goose.
Don't Forget the Tires
Pump the tires up before storage.
They'll lose pressure over time, and leaving them completely flat for months isn't doing the tires or rims any favors.
You don't necessarily need maximum sidewall pressure. Use a sensible pressure for the tire, rider, and bike.
If you're storing the bike for a long time, check the tires every few weeks or once a month. If they're getting seriously soft, pump them back up.
And while you're there, check that the tires aren't developing cracks or flat spots.
Deal With Corrosion Before It Deals With You
If you've been riding in wet conditions or on salted roads, spend some extra time looking for corrosion.
Check the chain, cassette, bolts, cables, spokes, and other exposed metal components.
Surface rust on something like a chain is a warning sign, not a decorative finish.
If appropriate for your components, you can use a corrosion-inhibiting product on exposed metal surfaces. Just be extremely careful around the braking system.
Oil and brakes are not friends.
Keep sprays, grease, and oily rags away from brake pads, rotors, rim braking surfaces, and tires.
If you've got significant corrosion, particularly around structural components, bearings, or braking hardware, it's worth getting a mechanic to look at it before the bike disappears into the garage for four months.
Pick a Decent Place to Store It
The best place to store a bicycle is somewhere dry, reasonably temperature-stable, and protected from the elements.
A dry garage is fine. A basement can be great. An indoor storage room is even better.
A damp shed at the bottom of the garden? Not so much.
Cold itself generally isn't the biggest concern for the bicycle. Moisture and condensation are the real troublemakers.
And please don't leave your bike outside under a tarp all winter if you have another option. A tarp keeps rain off, but it doesn't stop humidity from getting everywhere.
Get It Off the Floor
If you've got room, put the bike on a proper storage rack or wall mount.
It keeps the bike out of the way, reduces the chance of someone knocking it over, and keeps it away from wet floors and whatever mysterious liquid has been accumulating under the lawn mower.
You can store the bike upright on its wheels, hang it from a suitable rack, or use a repair/storage stand.
Whatever you choose, make sure the mounting system is actually designed to support the bike securely. Nobody wants to find their derailleur hanging off the bike because the storage hook gave up halfway through January.
E-Bike? Don't Forget the Battery
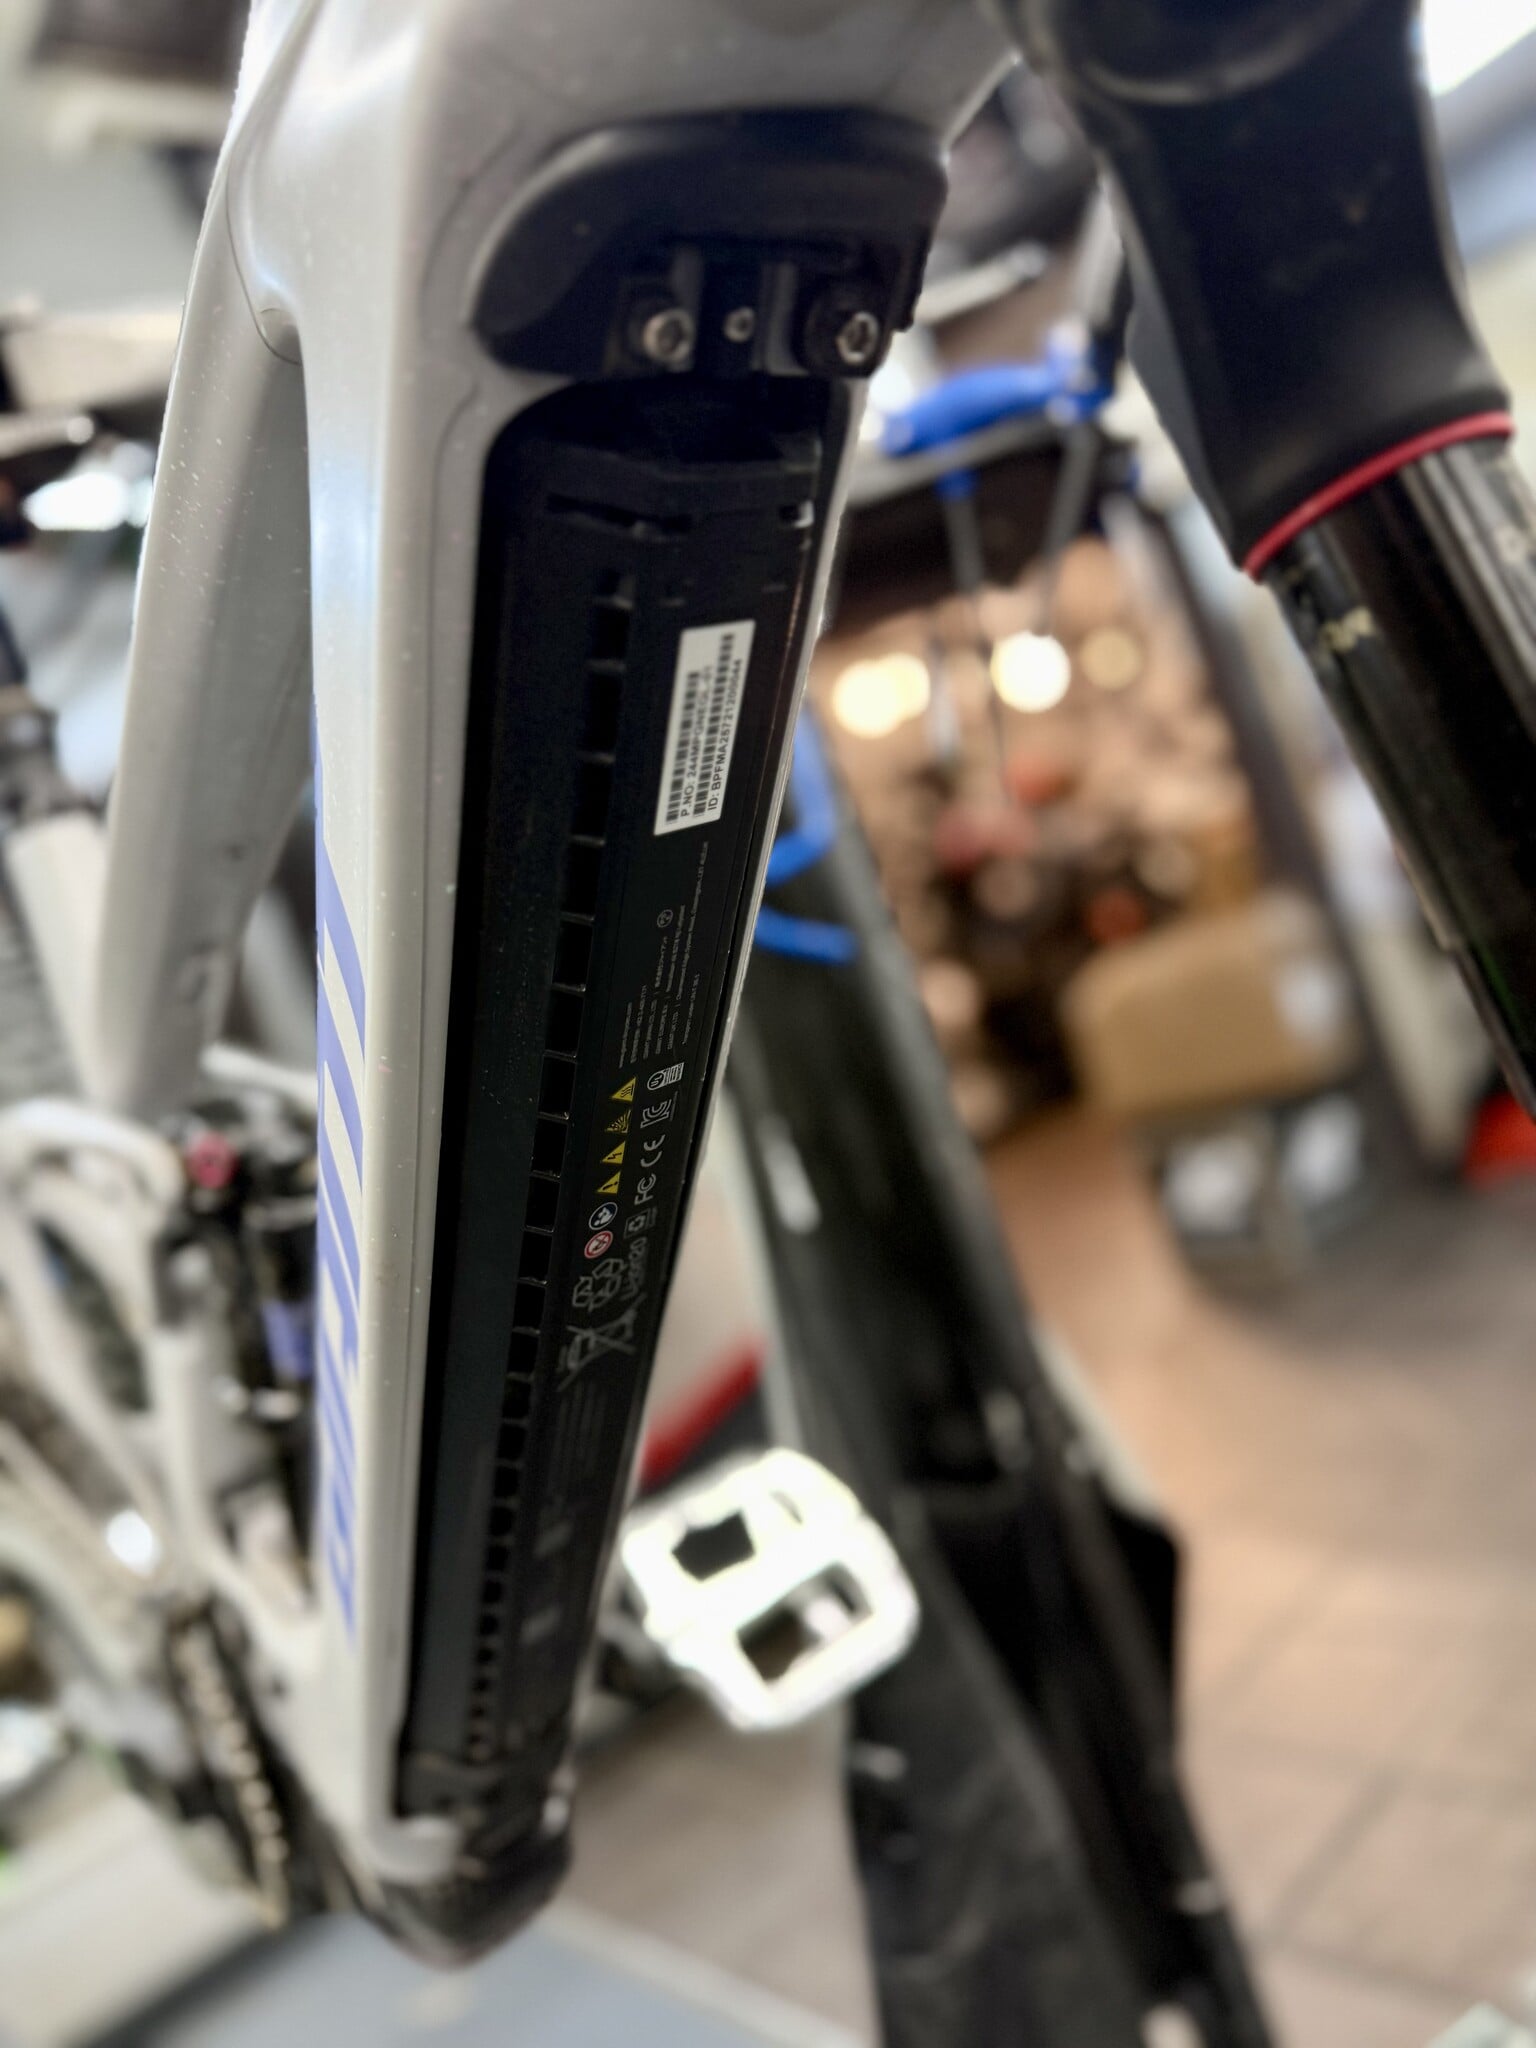
If you've got an e-bike, the battery needs some attention too.
Follow the manufacturer's instructions for long-term storage. In general, removable lithium-ion batteries should be stored somewhere dry and away from extreme temperatures.
A freezing garage isn't necessarily the ideal home for your expensive battery.
Pay attention to the recommended storage charge level as well. Don't leave the battery completely discharged for months, and don't assume keeping it at 100% indefinitely is the best approach either.
Basically, treat the battery like the expensive piece of electronics that it is.
Because that's exactly what it is.
Cover It, But Let It Breathe
A bike cover is useful if your storage area gets dusty.
Just use a breathable cover.
Wrapping the entire bike tightly in plastic might keep dust off, but it can also trap moisture against the frame and components. That's how you end up with a bike that looks fine from across the garage and resembles a science project up close.
Every few weeks, pull the cover off and have a look.
Check the tires, chain, frame, and any exposed metal. If you spot moisture or corrosion, deal with it before it becomes a bigger problem.
Spring: Don't Just Ride It
When the first warm weekend arrives, don't immediately throw a leg over the bike and head for the hills.
Give it a quick pre-ride inspection.
Check tire pressure. Test the brakes. Shift through the gears. Spin the wheels. Check the chain. Look for corrosion. Make sure nothing has loosened.
If the bike has been sitting for several months, take it for a short test ride first.
Listen for anything weird.
A little squeak might be nothing. A grinding noise from the bottom bracket probably isn't something you should “ride through and see if it goes away.”
That's how mechanics get their stories.
The Mechanic’s Bottom Line
Winterizing a bicycle isn't rocket science.
Clean it. Dry it. Inspect it. Lube it. Inflate the tires. Keep it somewhere dry.
That's the basic recipe.
The biggest mistake I see is waiting until spring to discover problems that were already there in the fall. If your chain is worn, your brake pads are cooked, or your shifting is terrible, winter is the perfect time to deal with it.
Do the boring stuff now, and you'll thank yourself when the roads dry out.
Because when that first sunny Saturday hits, you want to be riding the bike—not standing in the garage wondering why the rear derailleur is making a noise that sounds like a coffee grinder full of gravel.
Comments
Be the first to comment...